Installing Zeroshell on the Orange Pi Zero
Purpose
Zeroshell is a appliance Linux distribution for routing and firewalling, with a special focus on being extremely low footprint.
- It is configurable by a clear web interface and command line over SSH.
- It gets automatic security updates by default
- RAM, disk, and CPU usage are extremely small
I see a few main uses for Zeroshell on the Orange Pi or a similar device. Wireless access point
- Cheap wireless access point with usually premium features like bandwidth monitoring, QoS, RADIUS, VPN, etc. The Orange Pi would use its (admittedly a bit dodgy) wifi antenna to broadcast the access point, and if you wanted internet you would use the onboard ethernet port as WAN.
- I do actually see some use of this, sometimes on car journeys my family plays Civ games by turning tethering on and data off on someone’s phone.
- This could also maybe help if you have a single ethernet port and want something to make a wifi network out of it, for whatever reason. Kind of like those little GL.iNet travel routers.
Filter / extra firewall
- ‘filter’ on your home network between ISP modem and wireless access point / router, so that you can be sure SOMETHING between you and the big bad internet is getting security updates. You would need a USB ethernet adapter here and be limited to somewhere under 100mb/s of throughput.
Full router but not wireless AP
- DHCP, routing, bandwidth monitoring, etc for your home network. So it does all the major functions of handing out IP addresses, firewalling, NAT, port forwarding.
- Perhaps a USB ethernet adapter goes out to WAN and the onboard goes out to a switch for LAN, where a WAP could be connected too. Or it just goes straight out to the WAP if you only have wireless clients.
Install
- First get the Orange Pi Zero release
- Flash it to an SD card with a tool like Etcher, or dd
- Plug in the power and find yourself an ethernet cable
Connect and basic configuration
- I followed this guide to get a hang of the initial steps and figure out how to connect and get WAN working.
- It is important to know that by default Zeroshell gives itself an address of 192.168.0.75 and does not have DHCP enabled. Thus, the best way to connect is to disable wifi on your computer, plug it into the Orange Pi by ethernet, and give yourself a static IP like 192.168.0.5.
- You should then be able to connect to https://192.168.0.75. Sometimes it would take a few attempts for me, but eventually a login page comes up. Use ‘admin / zeroshell’ defaults.
- The first step is to make a new profile for our changes. Setup->Profiles->Choose a disk partition->Create profile.
- For hostname, kerberos, LDAP settings I had no particular settings so I used home.home.
- Choose the network interface you want for LAN and give it a reasonable gateway address like 192.168.75.1. Set the default gateway to whatever the gateway of your WAN network will be.
- Create the profile and select it, but don’t activate it.
- Head over to Setup->SSH and enable SSH from the LAN network (you’ll have to put in a network range like 192.168.0.0/16)
- Head to Setup->Network to configure your LAN and WAN interfaces. Enable both if needed and set the WAN to use DHCP by clicking ‘Dyn.IP’ and enabling it. I had my WAN network on hand to plug in but it should work if you don’t connect it until later too’
- Go to Network->DHCP and enable it; then configure a IP range to hand out; perhaps something like 192.168.75.50 to 192.168.75.150.
- Set the default gateway to 192.168.75.1 (whatever your OPi has) and configure some DNS servers. Again, I used home.home as the domain name.
- If needed, you can configure static IPs here too.
- In Network->Hosts->NAT, enable NAT and put your WAN interface into the ‘NAT Enabled Interfaces’ group.
- Back to Setup->Profiles, activate your new profile by clicking ‘Activate’
- You will now disconnect, and need to switch your ethernet adapter back to automatically getting IPs by DHCP.
- Once you have an IP and can connect to 192.168.75.1, it’s time to change the admin password. Go to Users->Users, and edit the admin user’s password to a new secure one.
- You’ll probably disconnect here again. Make sure you can log back in with the new password
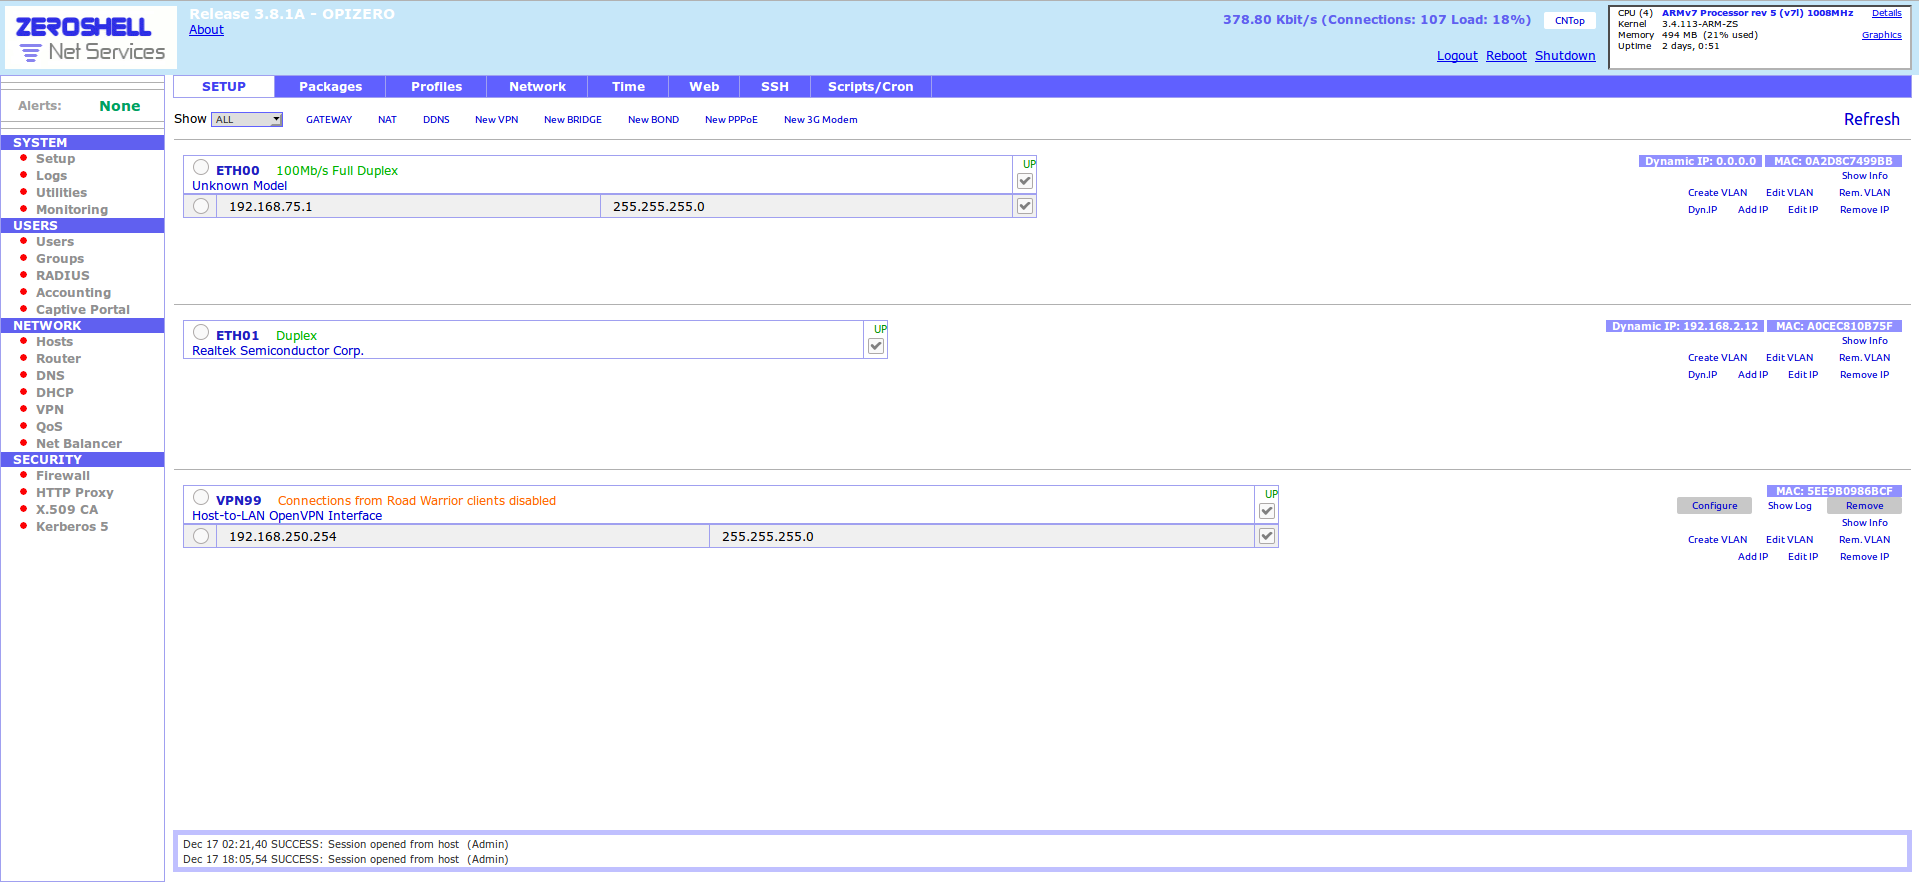
Advanced configuration and options
- Now that you can easily connect to Zeroshell, you can try out its features, such as:
- Port forwarding. Pretty simple, under Network->Router->Virtual Server
- Enable usage monitoring in Network->Hosts->Bandwidthd. Come back to this later when it has enough data to display some graphs.
- QoS, NetBalancer, and VPN are features I didn’t try, but they appear to be functional and straightforward.
- In Security->Firewall you can configure IPTables. The “Connection Tracking” section also looked interesting, you can enable logging of connections.
- In Network->DNS you can configure all sorts of DNS-y options like master/slave zones, forwarders, and Dynamic DNS services.
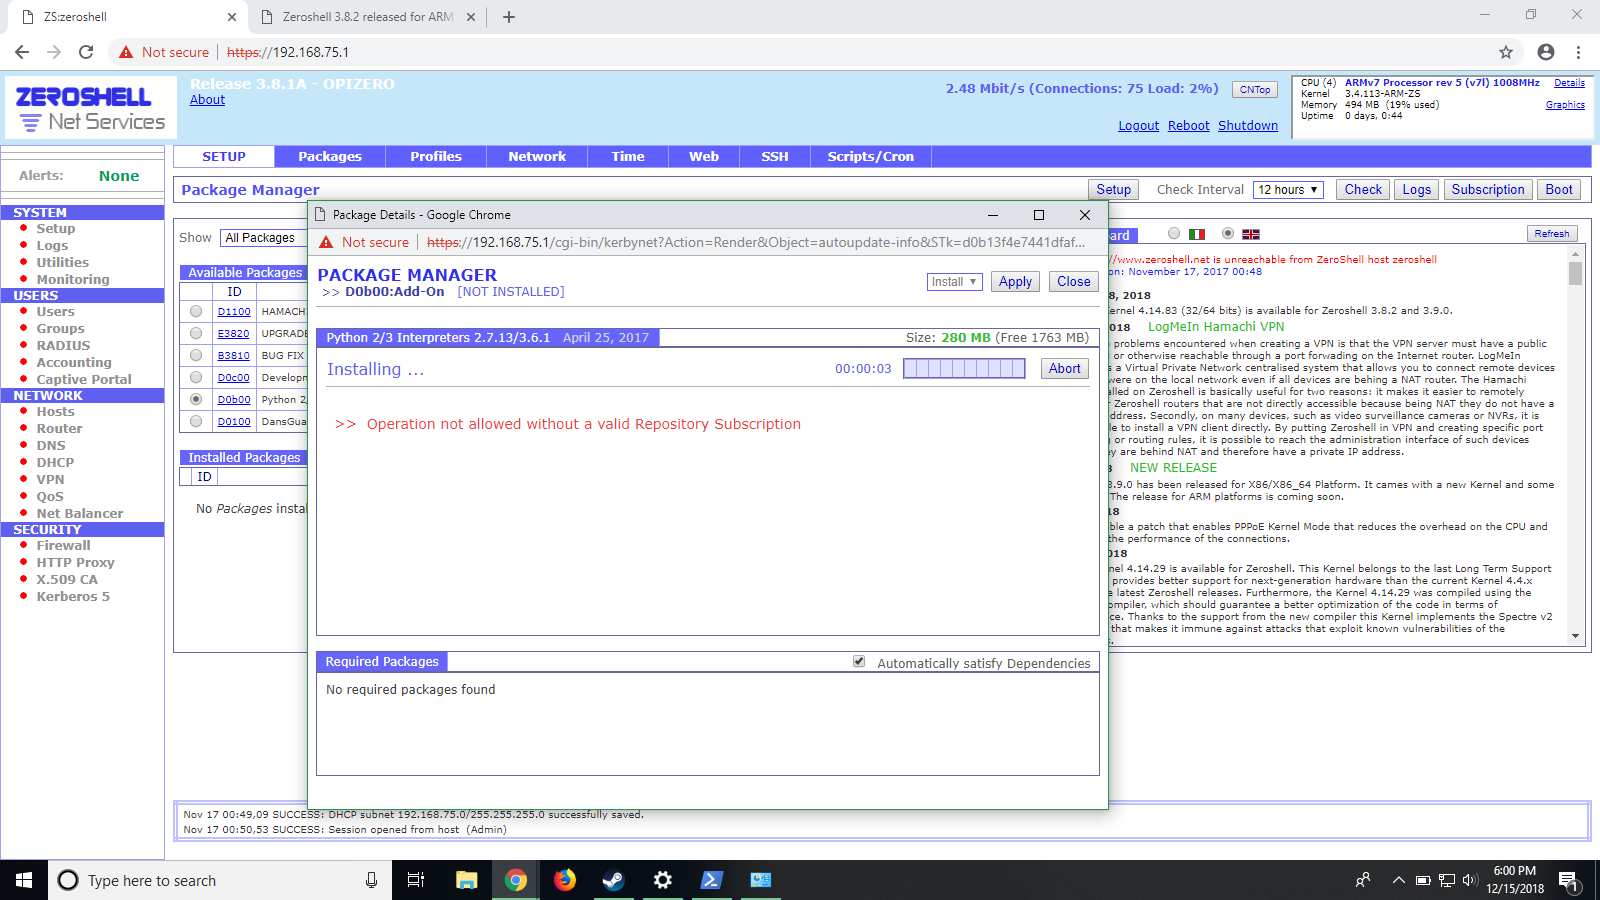
- Apparently Zeroshell has a Snort plugin. It didn’t offer it to me in the package installation menu under Setup, so perhaps it’s not available for ARM devices, or I don’t have a necesarry subscription.
Wifi, RADIUS, and the captive portal
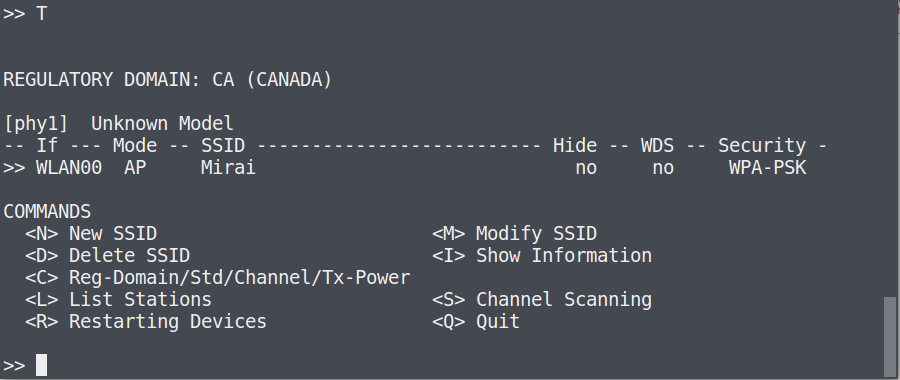
- To get wifi you will need to SSH in and enable it, after which the interface will appear under Setup->Network like the others.
- I attempted setting up both an enterprise network with RADIUS and a normal WPA-PSK2 network. In both cases the wifi network was available, and I could attempt connection.
- With the radius network I couldn’t figure out how to make it authenticate clients. I thought I had created some credentials, but the logs showed ‘no such user’ type errors.
- With the WPA-PSK2 network, clients got stuck at ‘obtaining IP address’ and the logs showed something or other about DHCP. I think the problem here was that it wasn’t bridged to the LAN interface properly.
SSH and Serial
- Apparently if you have a serial interface, Zeroshell will let you log in over it. I didn’t try it.
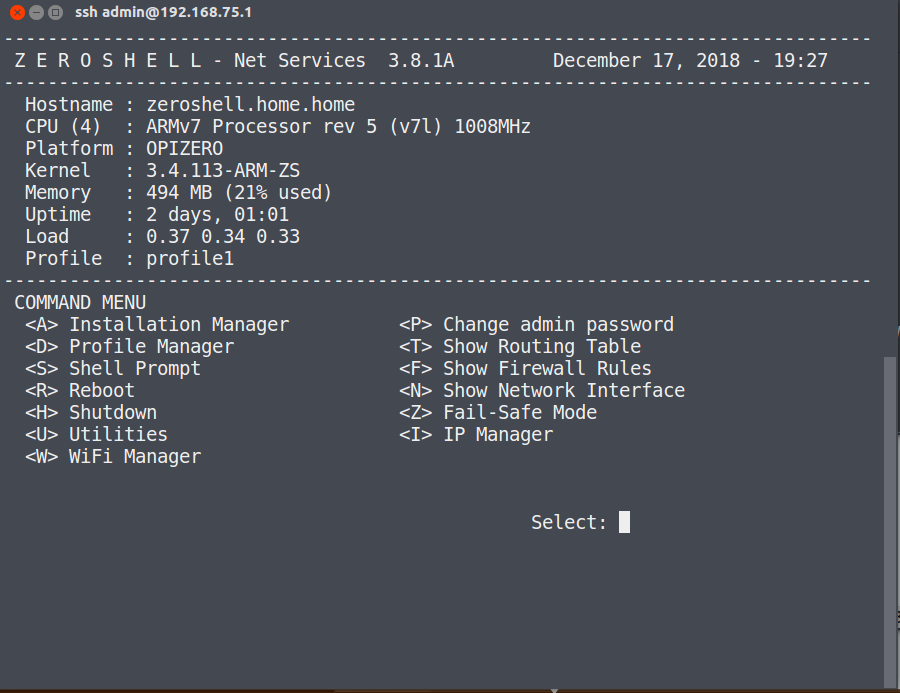
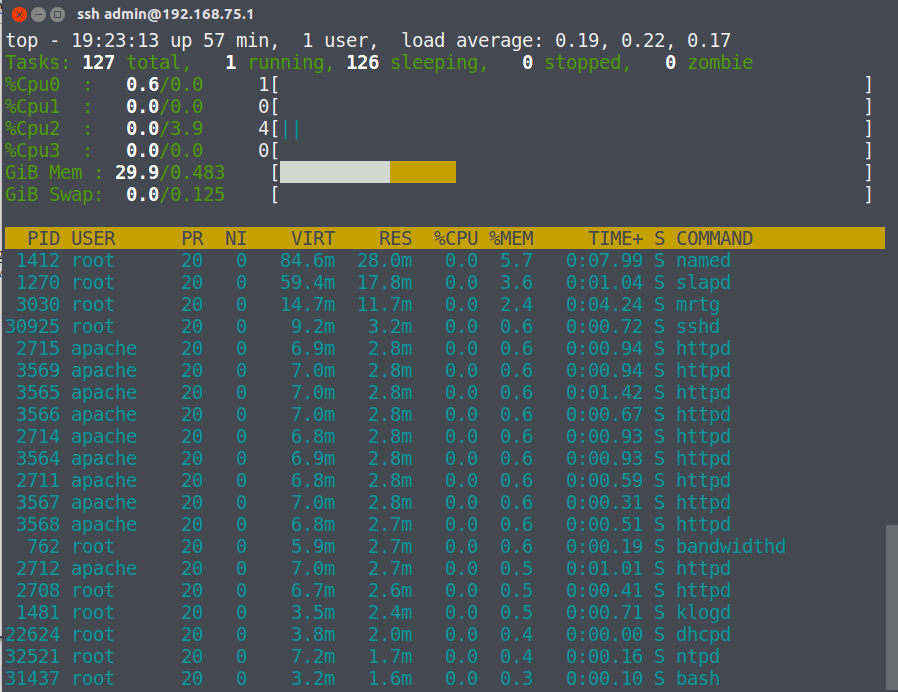
- Over SSH, you get a nice menu system that also allows you to get a root shell.
Written on December 17, 2018
